Managing environments
GoCD is configured using an XML configuration file. This file can be edited through the GoCD server dashboard. GoCD allows you to edit sections of the configuration independently and will check the syntax of the configuration before it saves it again. You can also edit the full XML file if you wish, by clicking on the Config XML section of the Administration tab.
Creating a new environment
An Environment is a grouping of pipelines and agents. By assigning an agent to an environment, it will be used to run only those jobs that belong to the pipelines of that environment. An agent can belong to more than one environment. This means, for instance, the same agent can be used to deploy something into an UAT or a Performance testing environment. A pipeline can, however, only be assigned to a single environment. Generally, these pipelines represent the tasks that need to happen in a given environment. For example deploying a 3-tier application into an UAT environment with 6 machines and running smoke tests on the setup.
However, once an agent is associated with one or more environments, it is no longer capable of picking up jobs on pipelines that do not belong to environments. Pipelines outside of environments will only be assigned to agents in the default pool (not associated with any environment).
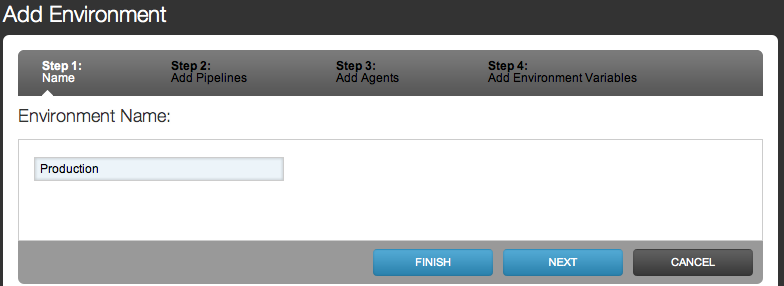
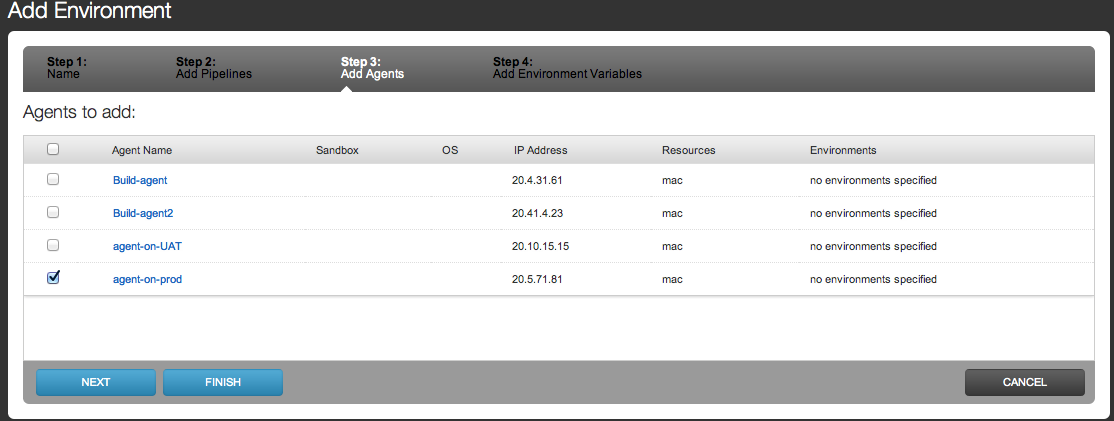
You can create an environment in the admin UI through the following steps. This example creates a production environment, adding the deployment pipeline and the agent installed on the production server.
- Click on the Environments tab

- Click on the "Add a new environment"

- Provide a name for the environment

- Add one or more pipelines that need to run on the environment

- Add one or more agents associated with the environment

- Add one or more environment variables or secure environment variables that need to be passed.

- Click on finish
Setting up an environment through the xml can be found in the configuration reference
Add a new agent to an existing environment
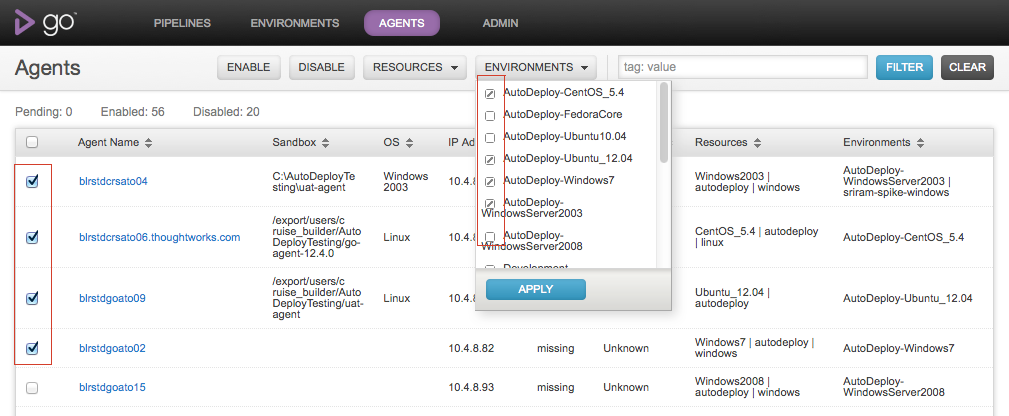
You can do this very easily in the Agents tab. Just select the agents you want to add to your environment and click on the Environments button. All existing environments will appear in alphabetical order. Select one of three states for all environments you want to add and then click the “Apply” button.
- An environment with a check will add the environment to all selected agents.
- An environment with a forward slash means some of your selected agents are associated to it. No change will occur after clicking “Apply”.
- An environment without a check will remove the environment from all selected agents.
